How to Base 3D Printed Miniatures: Texture, Paint, and Finishing
The base is the last thing people look at and the first thing that tells them your model is finished. Here's how to base 3D printed miniatures using texture paste, sand, static grass, and printed custom bases.
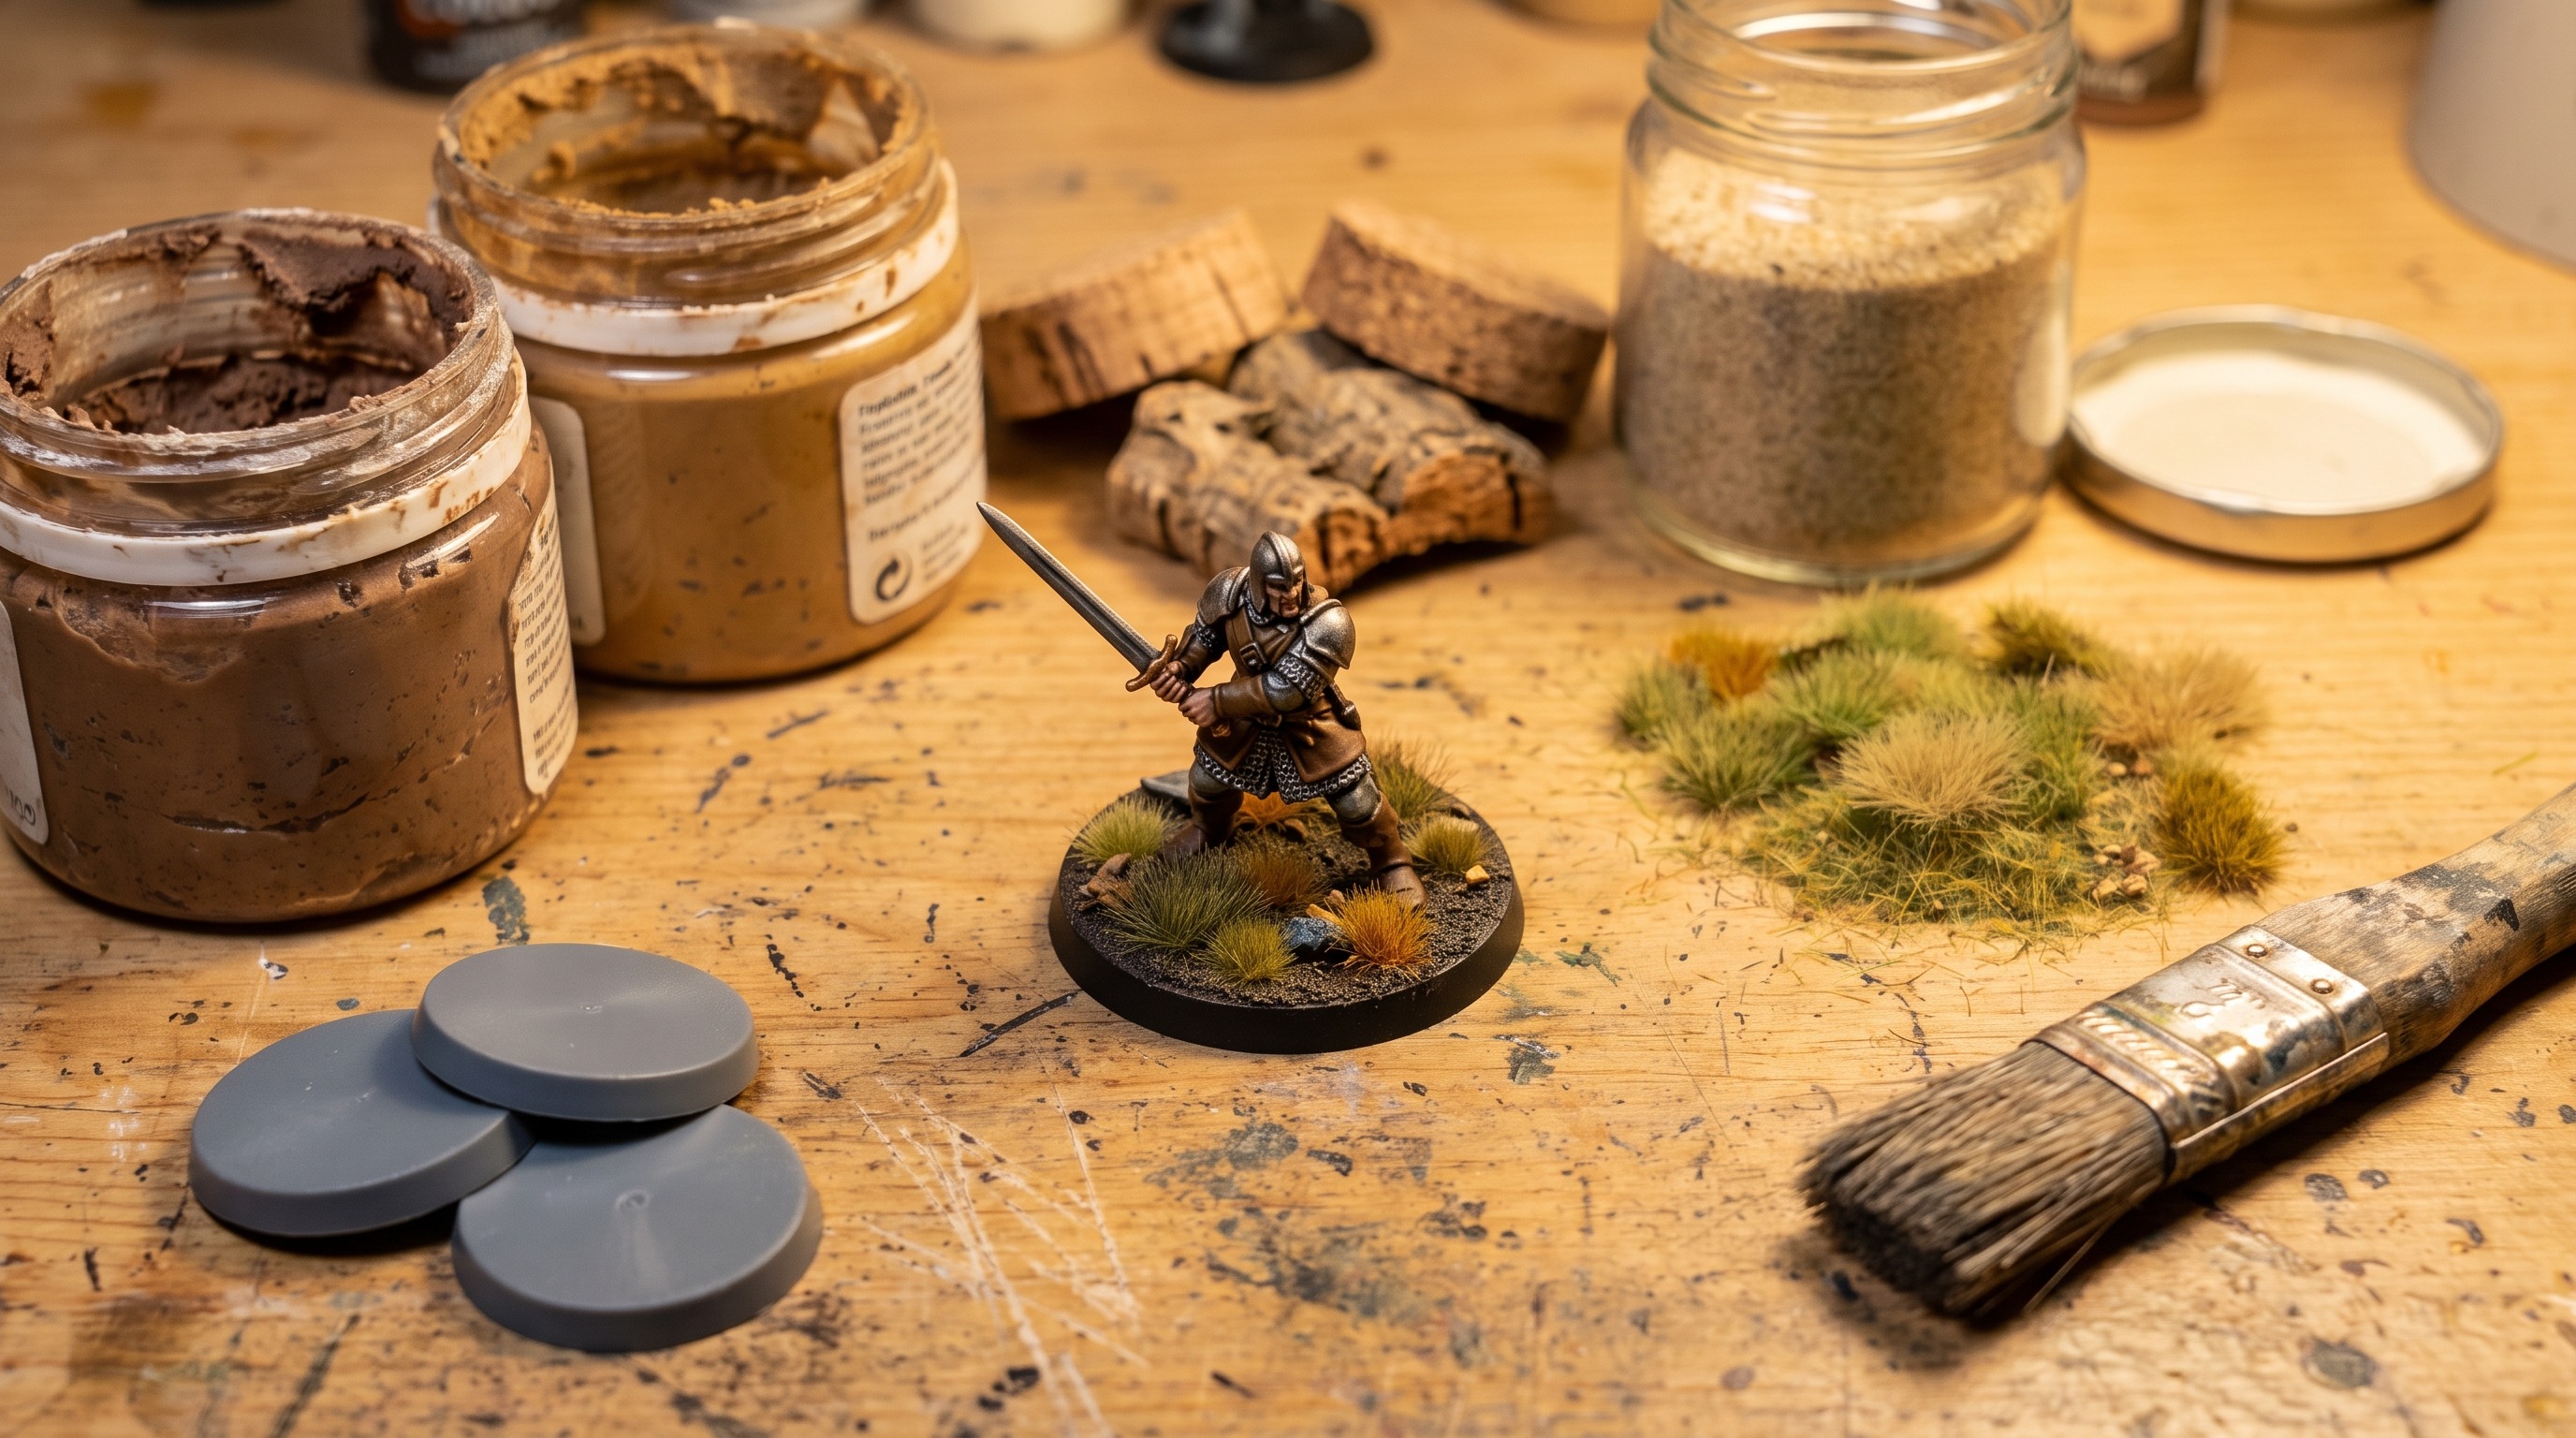
This guide contains affiliate links: we may earn a small commission at no extra cost to you.
You spent three sessions on the miniature. The highlights are clean, the skin looks good, and then you slap some brown paint and a pinch of static grass on the base and call it done. The result looks thrown together, because it was. A badly finished base undercuts every hour you put into the model above it.
The good news is that basing is the easiest part of the process to get right. The texture does most of the work for you. Once you understand the sequence (texture, prime, basecoat, drybrush, scenic elements, seal) a base that looks coherent and finished takes maybe 20 minutes. This guide covers that sequence from start to seal, with specific notes on where printed custom bases differ from traditional paste-and-sand methods.
The Base Options
There are three broad approaches to basing resin miniatures. Each has a use case.
Texture paste on the stock base. Most resin miniatures come with an integrated base (the flat disc the model stands on). Apply texture paste directly to this, paint it, and done. Fastest, most consistent. Good for armies and batch painting.
Sand and ballast on the stock base. Apply PVA, dip in fine sand or model ballast, prime, paint. Takes more steps than texture paste but costs less per model. Good for anyone doing large volumes.
Printed custom base. You print a thematic base (cobblestone, dungeon tile, forest floor, snow field) separately and either print the model on it or glue the model to it. Most work upfront, most control over the result. Good for hero models and character pieces.
All three end at the same place: a painted, textured base with some scenic detail. The steps below apply to all three; I’ll call out where the process varies.
What You Need
For texture paste basing:
- Citadel Astrogranite or Agrellan Earth: stone and cracked earth, respectively
- An old stiff brush for spreading
- A sculpting tool or toothpick for detail work around the model’s feet
For sand basing:
- PVA glue (white craft glue: standard)
- Fine sand, model railway ballast, or decorative sand (craft stores)
- A brush for applying the glue
- Flat black or grey spray primer
For scenic finishing on either:
- Army Painter Battlefield static grass or similar
- Foliage tufts (Gamers Grass tufts are reliable)
- Small rocks or bark flakes for accent
- PVA for gluing scenic elements
Applying the Texture
Texture paste
Scoop a small amount of texture paste onto an old palette or tile. Use a stiff brush to apply it to the base, working it into an even layer and pushing it up close to (but not under) the model’s feet. Keep the paste off the model itself.
Add variation. Smooth, flat texture paste looks less realistic than texture paste with some pushed areas and some dragged areas. Press the brush into it while wet to create pitting. Drag it to create directional grain. Leave small peaks and voids: it reads more like real ground.
Let it dry completely. Texture paste takes longer than paint: at least an hour, more for thick applications. Dry paste is solid and doesn’t depress when you press it; wet paste still gives slightly. Don’t rush it.
Sand and ballast
Apply PVA across the entire base surface, leaving the area under the model’s feet but extending to the edge. The coat should be thorough: thin spots mean bald patches after dipping.
Lower the base into your sand or ballast container and press down to coat completely. Lift out, tap gently to remove loose material, and set it upside-down for a moment to let excess fall away. Set the model right-side-up and let it dry overnight.
Once dry, the sand layer needs priming. Hit it with a quick coat of flat black or grey spray. This seals the sand particles and gives them something to hold paint.
Painting the Base
The painting sequence for a base is just a condensed version of the miniature painting process: dark basecoat, wash (optional), drybrush.
Basecoat
Apply a flat, dark version of your ground color straight over the texture. Brown-black for dirt and soil. Dark grey for stone. Very dark tan for desert. This coat is about coverage: getting dark color into every recess of the texture.
Work the brush into the texture rather than over it. You want paint in the low areas, not just on top.
Drybrush (pass one)
Load a flat brush with a mid-tone lighter than your basecoat: medium brown over dark brown, mid grey over dark grey. Remove most of the paint and drag it across the texture. The raised grit and texture peaks should pick up paint and begin to read as highlights.
Drybrush (pass two)
Mix your mid-tone with white, or use a dedicated light highlight color. Even drier brush, even lighter touch. This second pass picks out only the highest points of the texture and gives the base a lit, three-dimensional look.
For stone specifically: a very final pass with near-white on the absolute peaks creates a cold, worn look that reads strongly as worked stone.
The same drybrush technique that works here applies to the miniature itself, and resin surfaces behave differently from cast plastic in ways that change how dry the brush needs to be. The drybrushing guide covers those adjustments in detail if you’re drybrushing the model above the base in the same session.
Scenic Elements
Scenic elements are optional but they’re what make a good base look great.
Static grass is the most common. Apply a small patch of PVA, press a pinch of static grass into it, and let it dry. Use two or three patches per base, not a uniform covering. Irregular placement looks more natural. Grass goes on after drybrushing is done; the drybrush would flatten and ruin it.
Tufts (pre-made grass, flower, or brush clumps) are even easier. Peel the backing, apply a drop of PVA to the base, press the tuft in. Done. Higher cost per element than loose grass but faster and more consistent.
Small rocks (literal small stones or resin pour offcuts) add scale and ground the model in a physical environment. Glue them with PVA. One or two small rocks on a 25mm base is usually enough.
Leaf litter (scatter material from model railway suppliers, or broken up lichen pieces) adds an organic quality that texture paste alone doesn’t provide.
Keep it simple. A busy base competes with the miniature for attention. Pick one or two elements and use them selectively.
Common Basing Mistakes
These are the problems I see most often. Most of them are timing problems.
Rushing the dry time. Texture paste and PVA-glued sand both look dry before they are dry. Pressing scenic elements into paste that hasn’t fully set pushes the texture out of shape. PVA turns cloudy and weak if you handle it too early. Give texture paste a minimum of one hour. Give PVA-glued sand overnight before you touch it.
Getting paste on the model’s feet. Texture paste applied too close to the base of the model wicks under the feet and creates a raised shelf of dried material around the tab. It looks bad and is difficult to remove once cured. Work the paste in close, then use a toothpick or sculpting tool to clear any material that crept under the model before it sets.
Drybrushing over scenic elements that are already down. If static grass is already on the base when you drybrush, the brush will drag it out of position or flatten it. Drybrush the texture first. Add grass, tufts, and scatter after the drybrushing is finished and the paint is dry.
Sealing before the PVA has fully cured. PVA glue appears dry when it clears, but it isn’t fully cured for 12 to 24 hours. Varnishing over partially-cured PVA traps moisture. The result is cloudiness in the scenic elements or lifting at the edges. Let the base sit overnight after the last PVA application, then varnish.
Too much static grass. A patch of grass covering most of a 25mm base looks artificial. Real ground isn’t uniformly covered at scale. Two or three small, irregular clumps with bare earth showing between them reads more convincingly than a full lawn. Less coverage, more variation.
Skipping primer on raw sand. Sand and ballast glued with PVA need primer before paint. Without it, paint sits on the surface of each grain and rubs off with handling. One quick pass of matte black or grey spray fixes this. Texture paste products don’t need this step because the formula is designed to accept paint directly.
A base theme that doesn’t match the model. Cold grey flagstone under a model painted in warm browns looks like two different pieces sharing a plinth. This is easier to avoid than to fix. Decide on the base environment before you paint the model above it. The implied ambient light from the ground affects which tones read correctly.
Texture Paste vs. Sand
Both methods produce a similar result after painting. The choice is really about how much time and money you want to spend per model.
| Texture paste | Sand and ballast | |
|---|---|---|
| Steps to apply | One (spread, let dry) | Three (PVA, dip, prime) |
| Primer required? | Usually no | Yes |
| Dry time before painting | 1 hour minimum | Overnight |
| Cost per model | Higher (premixed product) | Lower (bulk sand is cheap) |
| Consistency across a batch | Very consistent | Depends on technique |
| Best use case | Hero models, quick individual pieces | Armies, large batch painting |
| Finished result | Nearly identical | Nearly identical |
The practical answer: texture paste if you’re doing a few models at a time and want to stay in flow. Sand if you’re doing twenty infantry bases in one sitting and want to stretch the budget. Nobody looking at the finished base will know which one you used.
Printed Custom Bases
If you’re printing your own bases, the best STL sites guide has dedicated base collections worth looking at. For free DnD-specific terrain and custom bases from community creators, the free DnD STL miniatures roundup includes a dedicated terrain and scatter section covering dungeon tiles, scatter pieces, and modular building systems. Printing custom bases has one significant workflow difference from the paste and sand methods above: there’s no texture application step. The geometry is built into the print.
The printing-specific considerations:
Fit the model to the base before priming. Dry-fit the model foot positions on the base to check they’re stable. Some custom base designs have raised terrain elements that can interfere with stance. Better to know before the glue is set.
Prime as part of the model. If you’re gluing the model to a custom base before priming, prime everything together. If you’re priming model and base separately and gluing after, make sure the areas where they join have some paint coverage so the glue has a textured surface to grip.
Layer lines on bases. A flat printed base at 0.1mm layer height will show layer lines on the flat surfaces. For flat ground reads like stone flooring, this can actually work. Horizontal lines read as flagstone grout. For surfaces that should be naturalistic, print at finer settings or use paste to add texture on top.
Final Sealing
Once the base is dry and all scenic elements are secure, varnish over everything in the same pass you use to seal the miniature. This locks the basing materials, seals the static grass, and gives the whole piece uniform protection.
For the full painting and varnishing workflow, including the sealing step that comes after basing, see how to paint 3D printed resin miniatures and the varnishing guide. New to resin printing entirely? The complete beginner’s guide to resin miniature printing covers everything before you reach basing: printer setup, slicing, first print, and post-processing.